5 Tips for Better Bargain Shopping

I’ve always been able to find a great bargain pretty much anywhere I go. My friends swear by shopping with me because I always have the best luck and finding the coolest items at an amazing price. So here are my 5 easy tips for being the best bargain shopper around!

image

1. Know What You Like
This seems like common sense, and it is. When I walk into a store, I know what I like. Knowing which patterns, colors, and styles you like will helps items stand out to you when you’re browsing a clearance rack or sorting through a box at a garage sale. Right now, I really like chevron, damask, and striped patterns and robin’s egg blue, mustard yellow, and army green colors (not necessarily together)!

2. Make the Clearance Rack your BFF
I ALWAYS start out at the clearance rack (or if you shop online, the SALE page). Whether I’m at Kohl’s, Target, or a high-end boutique, make the clearance rack your BFF. Once you’re browsing around, your favorite colors and patterns will stand out to you and you’ll be pleasantly surprised by what you find from “last season” that will be perfect for your apartment or wardrobe! I was recently browsing at Walmart (in the men’s section of all places) and found an adorable army patterned button-up that is perfect left unbuttoned as a light jacket. It was only $5 and compared to what I could have spent on a women’s army jacket, it’s JUST as cute!
image

3. Dread Goodwill and Garage Sales No More

If you prefer retail stores to buying used, it’s time to branch out! You won’t believe what you’ll be able to find when you decide to stop at that neighborhood garage sale, or brave that often crowded Goodwill store. Did you know?? Goodwill carries leftover Target items that didn’t sell from the clearance rack! I’ve found sandals, tops, picture frames, and colored pants that were brand-new from Target, but I bought them from Goodwill for a fraction of the cost! On certain days, different colored tags are 50% off, and the first Saturday of every month the entire store is 50% off (with some exceptions), how could you possibly beat that?!

Garage sales are truly hit-or-miss, I am usually only successful with them when I go and browse with nothing specific in mind. That way, if I come across an ugly coffee table, my mind is open to the possibility of painting or staining it, instead of getting my hopes up for something amazingly beautiful for cheap.

4. Get Creative

When you find something you like, but you wish it was a different color, or a different style, get your creative juices flowing!

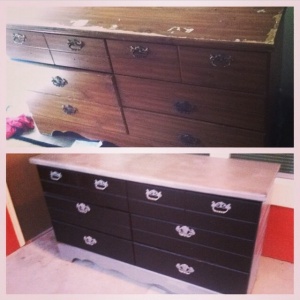
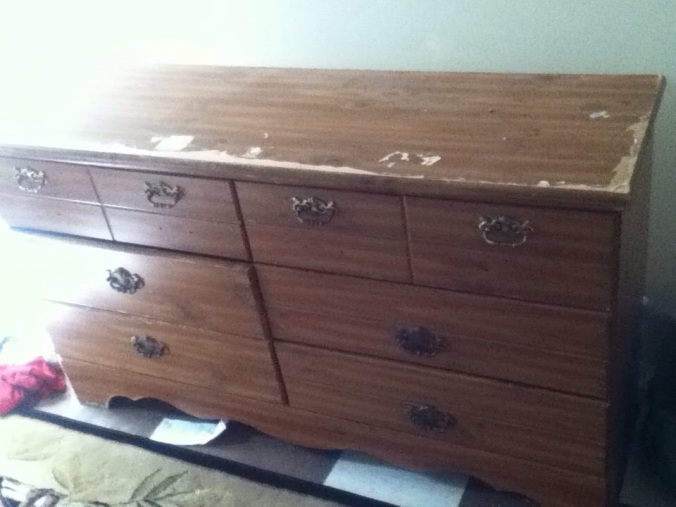
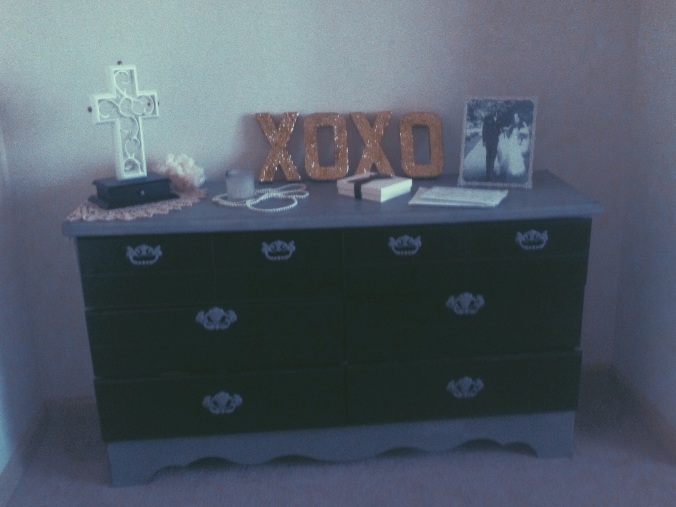
When I first moved into our apartment, I needed a dresser and I had my heart set on a long black one. Everything I found was close to $200 and I just couldn’t fathom spending that much (#bargainshopperprobz)!! I finally found the perfect sized dresser for $30 on a Facebook Yardsale page. It. Was. Ugly. It was made out of that pressed wood stuff, chipping, and the thin laminate coating was tearing off. BUT I HAD A VISION. I bought a few cans of spray paint and transformed it from “blahhh” to “AAAAH!” It’s even better than the black one I originally wanted!

This isn’t only applicable for furniture, you can easily do the same thing with clothing. So you find a great pair of jeans. “But I wanted shorts”, you say…. simply cut them off to your perfect length and WAH-LA, shorts! You found a super cute pair of flats, but they look old and would be way better if they were black… Spray paint them!

image

5. Vow to Never Pay Full-Price
This is a bargain shopper’s true secret. Now that I have a military ID, I’m always asking “Do you give a military discount?” and GUESS WHAT?? I’ve never been killed for asking, and most of the time, they do!

Here are some places that give military discounts:
– Burger King
– Chickfila (on Tuesday’s)
– Cracker Barrel
– Olive Garden
– American Eagle
– Old Navy
– Michael’s
– JoAnn Fabrics

If you’re not in the military or a military spouse, you can also get coupons and discounts from store apps! Hobby Lobby, JoAnn’s and Kohls have all of their coupons on their store apps- so no need to save your weekly ads (with some exceptions to those special “pull-off” coupons)! I simply download the app before I walk in the store, have the coupon pulled up at the check-out line, and delete the app when I leave (if you’re not worried about using up space on your phone, by all means, keep the app- haha).

I recently learned about an app called RetailMeNot; it gives you coupons and discounts for stores and businesses near you! Simply download the app, create a little profile, and search the store you’re at and see if there’s a coupon you can use! Steven even uses it now, trust me, it’s an app you’ll never want to delete. I have noticed that it sometimes shows fewer deals than the actual store apps do, but if you’re at a store that doesn’t have it’s own app, RetailMeNot is a great resource for deals!
image

So, what do you think? Are you feeling armed and dangerous and ready to take on your next shopping trip? It’s my hope that these 5 bargain shopping tips help you feel prepared to find your best deal no matter what you’re looking for. The possibilities are truly endless when you know what you like and are willing to get a bit creative.

Simply,
The Hoosier Peach

D.I.Y. Dreaming of Spring Wreath

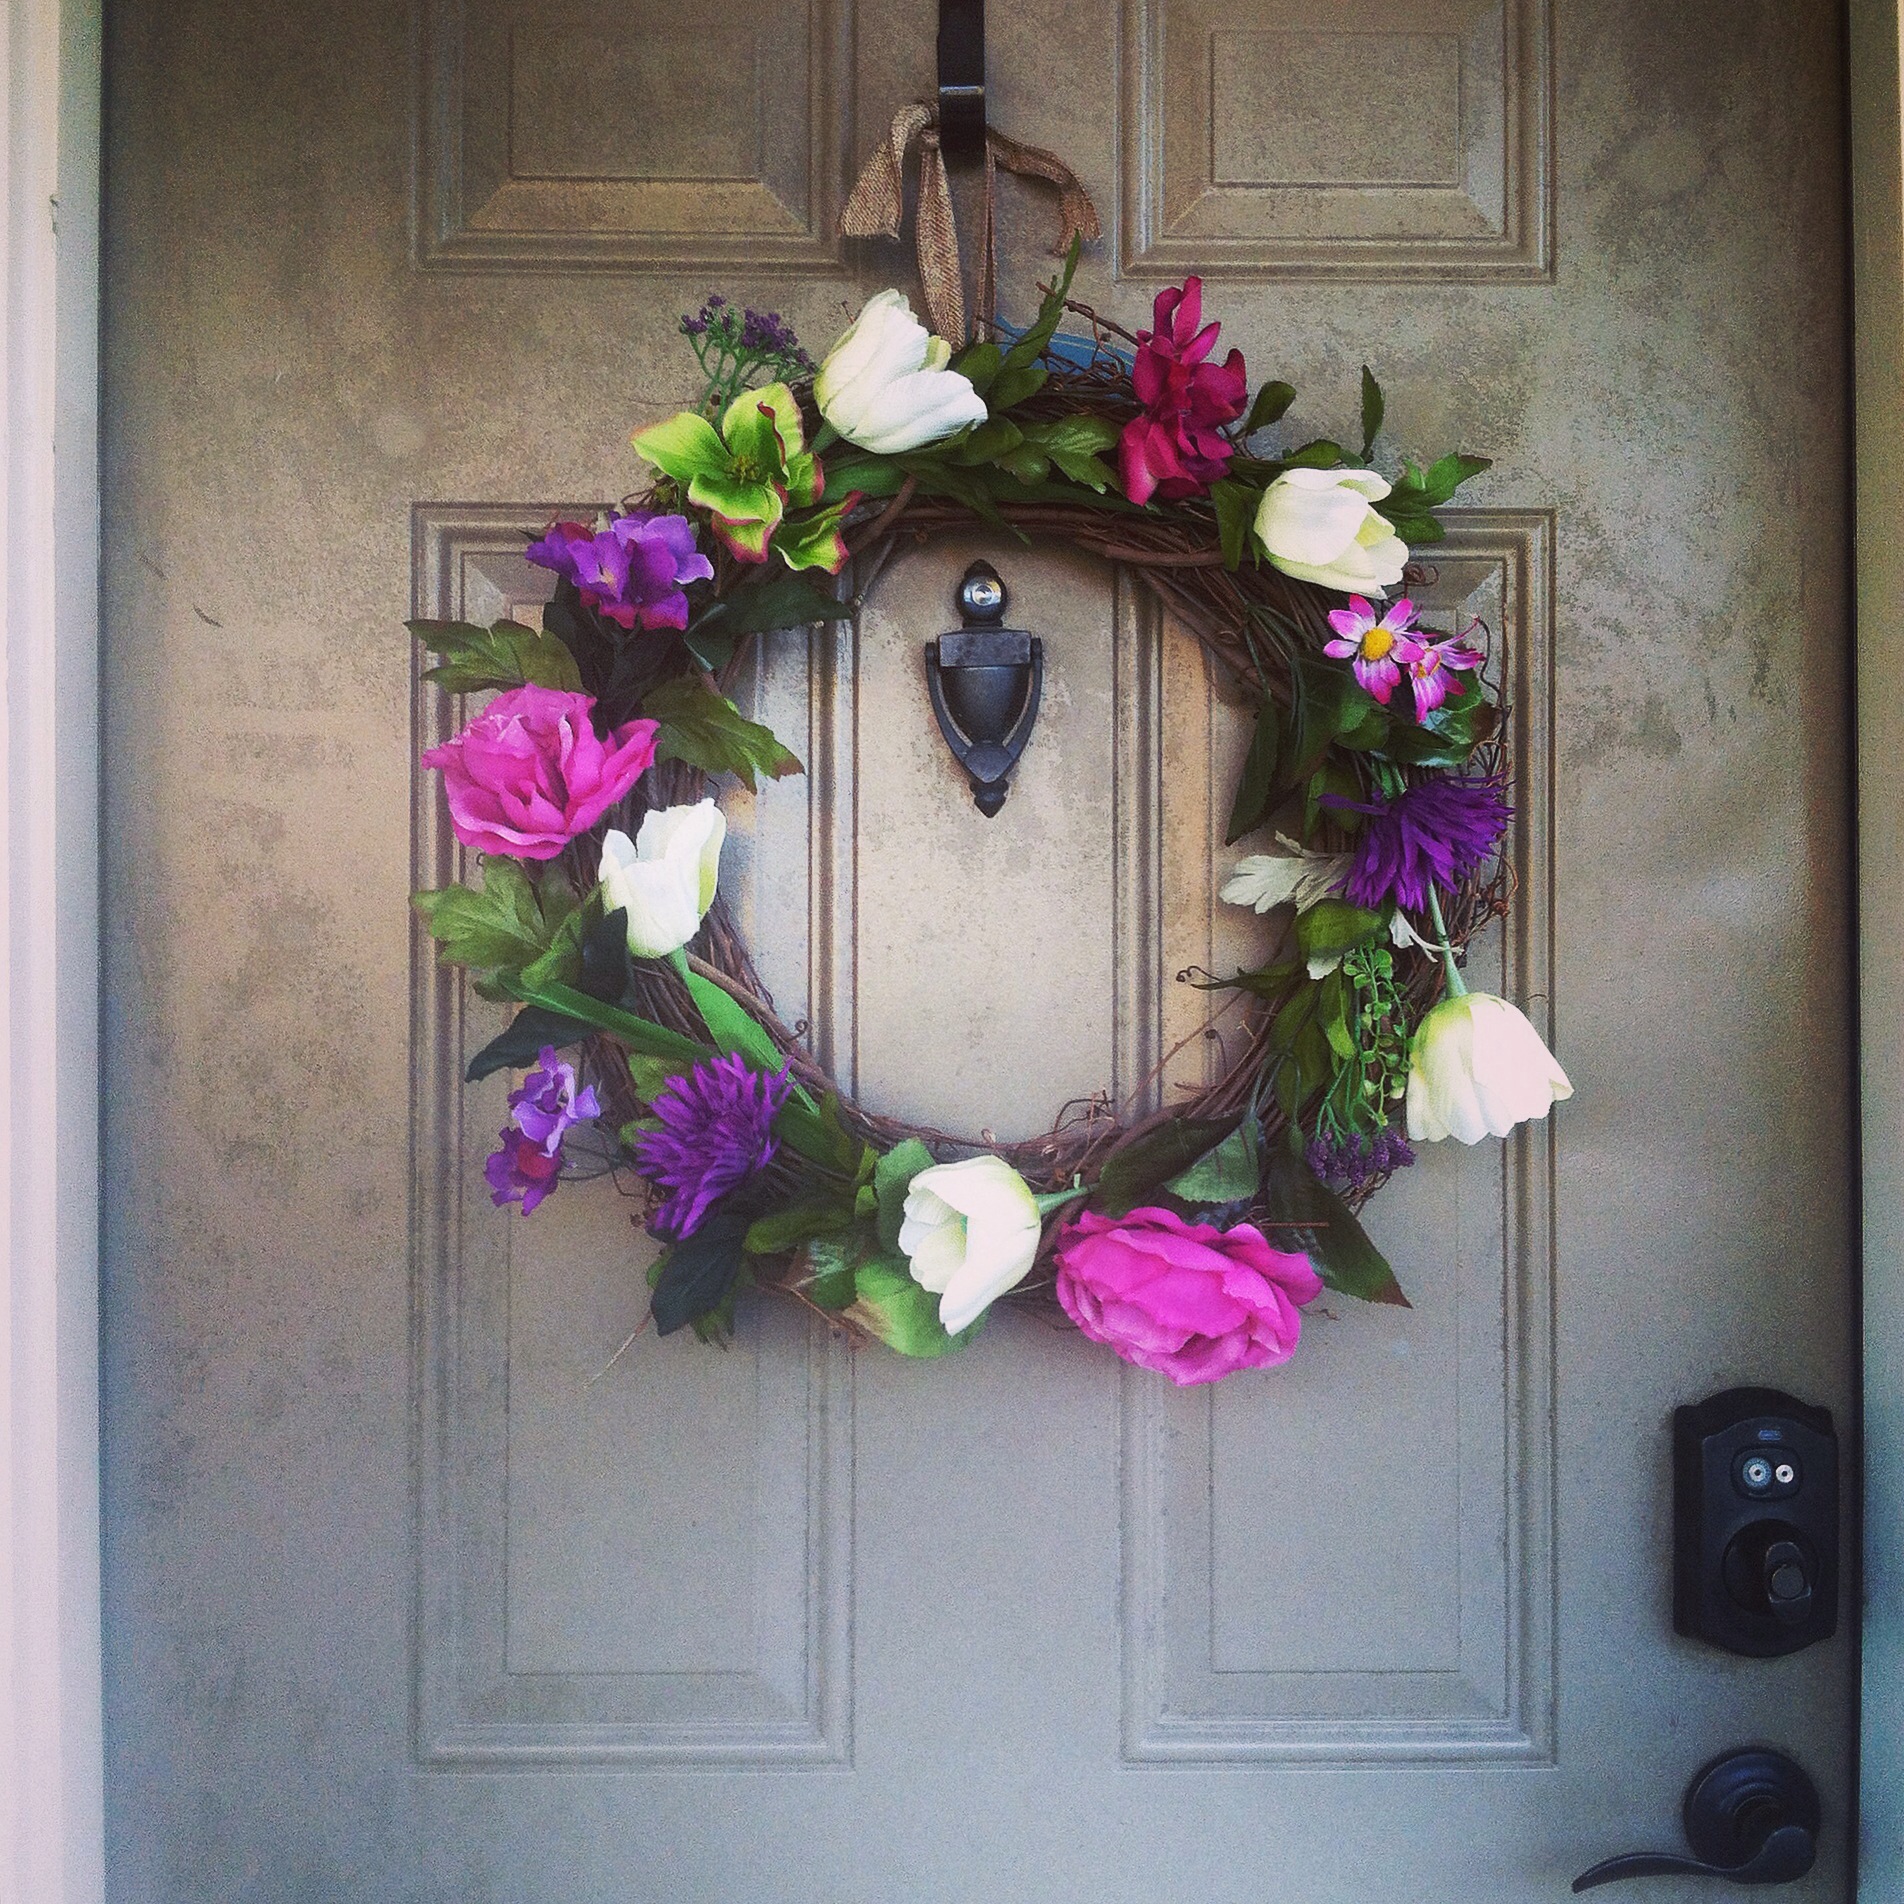
April showers bring May flowers, but I brought the flowers in March! We had our first sunny and 75 day in a few months, so of course that means it’s time for a new door hanging!! So, here’s another easy do-it-yourself, from yours truly. 


Ok, so I was browsing around Bealls outlet and on Etsy to see how much a wreath like this would cost to buy or sell. WOW. I was SHOCKED!! Depending on how detailed the wreath was, or which store you were looking at, a nice one cost between $24-$60!!! I made my wreath in 30 minutes for around $12 and even had leftover flowers for a mini matching wreath. Seriously, I’m obsessed with “doing it myself”.

Here’s what you’ll need:


– 2 bunches of flowers of your choice, about 30 stems for a large wreath. I got the purple flowers in a bunch from Walmart for $5.00 and the white tulips in a bunch for $3.00.

– 1 large “nest” wreath. The wreath I used has intertwined sticks that resemble a nest, I found it also at Walmart for $4.96. (I found the mini one for $1.00, but it’s not used in this project)

– Floral wire, mine is 26 gauge, and worked well.

– Wire cutters (I did not include this in the cost of the wreath)

How I Made It:

1. First you will need to cut the floral stems a part! Even with wire cutters, this part was hard for me, my hand hurt for awhile afterwords…. It was a small price to pay.

2. Start arranging the flowers by poking them into the intertwined sticks of the wreath, it helps to bend the stems to give them a little curve! 

A few tips for floral arranging:

  •  Disperse colors, try not to bunch similar colors together
  • If you have larger flowers (similar to my pink ones in the picture) use an odd number, so your wreath doesn’t look too “heavy” on one side. Try imagining a large triangle placed on top of your wreath and use the large flowers where the corners of the triangle would be. (Geometry, yay)
  • If you’re using white tulips or a color that stands out, I suggest using  4-5, one on the top, bottom, and both “sides” (shapes change when you’re crafting and circles will suddenly have sides, I realize this may be a new concept to some of you).
  • Refrain from it being too planned out or having a pattern! This is the fun part, mess around and put flowers in and take them out until it looks perfect to you, nothing is permanent yet!! 


3. Once your flowers are just where you want them, cut a decent length of floral wire, and start attaching your flowers to the wreath.


4. To attach the flowers, hook the wire around a stick in the wreath and around the stem closer to the head of the flower and make several twists  with the wire.


5. Cut the ends of the wire off and continue around each flower securing it with wire.


6. You’re done! You can hang your wreath directly on a door hook, or you can attach a large piece of burlap (I looped mine around a stronger stick on the wreath and tied a knot at the top) for the wreath to be hung from.


Simply,

The Hoosier Peach

D.I.Y. Gel Nail Hack

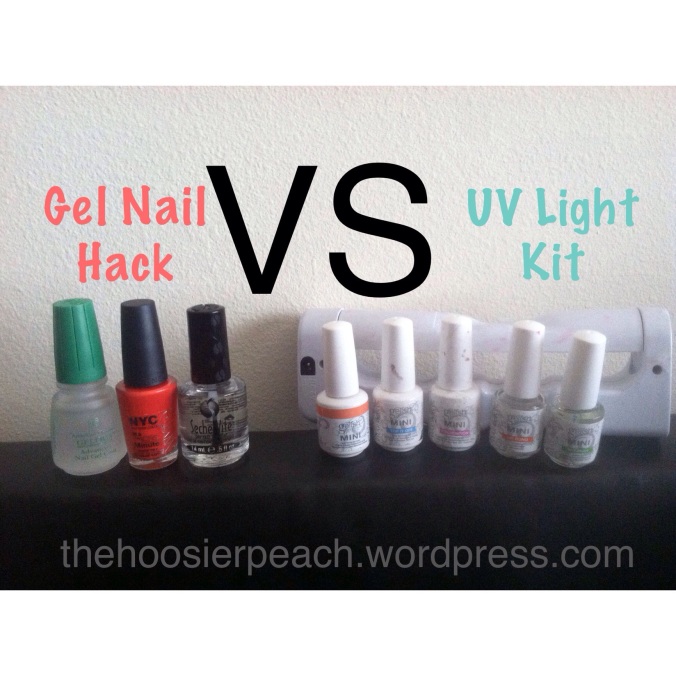
So, I recently tried a “Gel Nail Hack” tutorial that I found on Pinterest. I was curious to see if it would work, what it was like, and if it would be better than the UV light gel nail kit I already have. Here is my own version of the Pinterest tutorial, plus the pros and cons versus a regular UV gel nail kit.


Supplies:

– Gelous Advanced Nail Gel Coat (found at Sally’s Beauty Supplies)

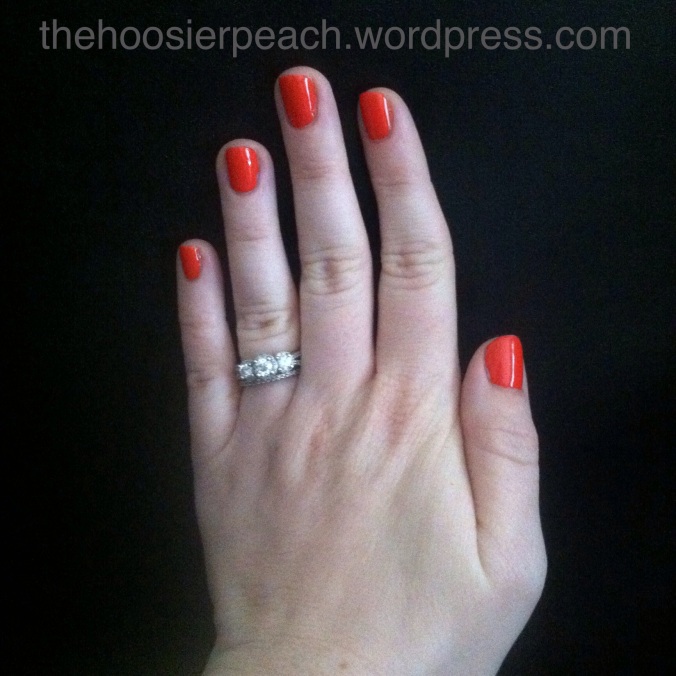
– ANY regular nail polish of your choice (pictured is NYC in Spring Street #221)

– Seche Vite Dry Fast Top Coat (also found at Sally’s Beauty Supplies)

Let’s get started!

1. Start with freshly cut and filed nails, make sure they are clean and dry.

2. Begin with one coat of the Gelous Gel Coat polish, let dry.

3. Apply one coat of the nail polish color of your choice, let dry fully.

4. Apply a second coat of the Gelous    Gel Coat polish, let dry completely.

5. Apply a second coat of your nail polish color and let it dry. 

6. Apply one coat of Seche Vite Fast Dry Top Coat, let it dry fully.

7. You will apply one FINAL coat of the Gelous Gel Coat polish, and let your nails dry…. which is the hardest part in my opinion! 

8. YOU’RE DONE! 


After wearing the polish for a week, here are my pros and cons:

Pros:

Affordable: This Gel Nail Hack is fairly inexpensive compared to the UV lights and special gel nail polishes you need to buy to go with the light. The Gelous, NYC, and Seche Vite polishes cost me a total of $14, whereas a Gel Nail kit alone can cost over $100. Not to mention every time you want a new UV nail polish color it’s around $12 for a little bottle!! 

Quality: It feels like a real gel manicure! It has the thickness that the UV gel kit gives you, and once my nails were totally dry I felt like they were indestructible! 

Options: You can use ANY nail polish you want!!!! That’s what I love most!! I can buy whatever color nail polish my mood is for that day and turn it into a gel manicure. Typical gel nail polishes can get expensive and this is a perfect solution.

Convenience: When I was religiously using my UV Gel Nail kit, I had to take 4 different polishes with me (not including the color polishes), plus my sometimes bulky UV light, batteries for travel, or the outlet cord, plus nail polish remover to remove the sticky residue, from the final layer in the UV light nail polish series, and lastly some cotton balls in order to use the nail polish remover! Such. A. Hassle. My sisters and I were carrying around plastic totes full of nail polish stuff wherever we went just to have a perfect gel manicure! With the Gel Nail Hack you have 3 polishes MAX and that’s it. Whew, so glad I don’t have to try fitting all my UV stuff in a suitcase again, more room for shoes! 

Cons

Dry-time: UGH we all hate nail dry-time, especially with six nail polish layers! It was hard trying to decide if my nails were fully dry before moving on to the next coat, but overall I ended up smudge-proof! 

Chipping: I did notice a chip in the polish right at one week of wear. I wasn’t too surprised because I tend to pick at my nails and I think in the end, I caused the chip, but my other nails were still perfect right at a week! I got bored with the color and changed it, so I’m curious to see if it will last longer than a week this time!!

Layers: With 3 layers of the Gelous Nail Coat for every manicure, I know the bottle of nail polish won’t last forever! I’ve only done 2 manicures and my bottle has an obvious amount missing from it. It’s not close to being gone, but it won’t last as long as my small bottle of UV gel nail “foundation” did.

Overall, I HIGHLY suggest trying this Gel Nail Hack. If you love gel nails or just don’t want to spend a bunch of money on the UV kits, this is a great alternative! 

As always, share your Pros and Cons, or your current favorite nail polish colors!! 

Simply,

The Hoosier Peach

Secrets of a “Hampton-girl” Wedding

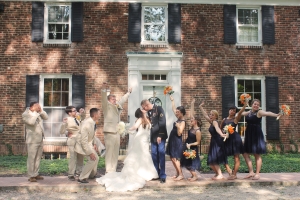
For those of you who know me, or have kept up with my blog, I planned my wedding in 89 days. Steven and I became engaged April 19th and our wedding was July 17th, 2014. I wasn’t extremely prepared for the cost of a wedding, but I had a nice job and some money saved up. I’m so thankful for my Mom who was able to step-up and help me out with such a time crunch, as well as my Grandma, and Steven’s family. Every one was very understanding of our situation and willing to financially help where they could. With so many people pitching in to make it an amazing day, I did what I could for LESS! Here’s how to have a $6,000 wedding in 89 days.

First, DO. NOT. FREAK. OUT. Do not keep a count-down, do not count the weeks, and definitely not the months. You will stress yourself out knowing the precious and limited days are dwindling quickly. Here’s what you really need to know:

1. Have your wedding on a WEEKDAY- the price for venues is typically less than HALF the cost of a weekend date. I had my heart set on an old Georgia-style Victorian home where I had attended other weddings, and the only July dates open were Thursdays, so I had to be ok with that. I was MORE than happy that my venue only ended up costing $500 for TWO DAYS of use! I had Wednesday at the house for set-up and rehearsal and then the full wedding day. And guess what?! I had around 150 guests attend! Keep in mind that the people that love you will be at your wedding no matter what day it’s on.

183_IMG_0705

[The Blanton House- Danville, IN]

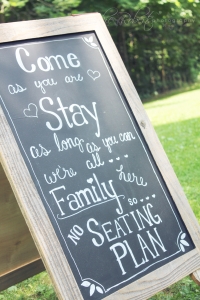
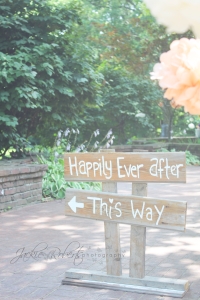
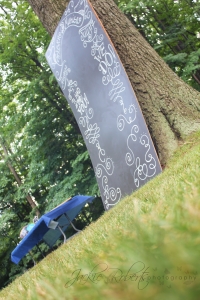
2. Talk to your friends who have already had weddings- if you have a similar style to your friend’s wedding, they may be more than willing to let you use things that are still sitting in their garage! I had two friends of my cousin let me “rent” items like chalkboards, table linens, and signs and I paid them around $40, when it would have cost me so much more to try to make the items myself. Plus, your friends can make a little cash off of the things they spent so much time and effort on!

223_IMG_9656224_IMG_9653217_IMG_9676

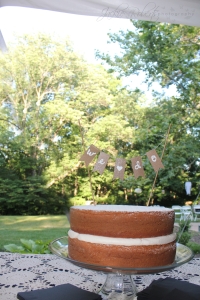
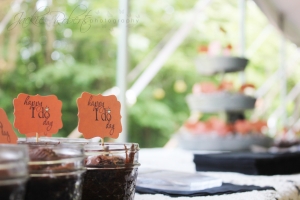
3. FOOD– This is a biggie and some brides can spend upwards of $10,000 on food alone at their weddings! I wanted a laid-back, backyard feel so I was envisioning BBQ or sandwiches. I went to a few of my favorite restaurants City BBQ and McAlister’s Deli to see what deals they could provide. I used to work at McAlister’s so they gave me the best deal that fit into my small food budget. I had a baked potato bar, and some sandwiches, as well as potato salad, salad and toppings, tea, lemonade, and all of the plates, flatware, and cups (our venue didn’t allow glass since it was considered a park). I ordered the exact amount of food for the people who RSVP’d, so my only suggestion would be to order approx. 25 servings more to cover those who show-up, or those who are extra hungry! For cake, Steven’s Mom had a friend who makes cakes and wasn’t going to charge much since the cake was very simple. I made the cake topper and borrowed a typical cake stand. WAH-LA. Let there be cake! Instead of cupcakes for guests, my Mom and Mamaw made some amazing brownies in mini mason jars. IT WAS ADORABLE. I had so many compliments on the uniqueness of the brownies in the jars, and people seemed to like that even more than the cake!

136_IMG_1250219_IMG_9666

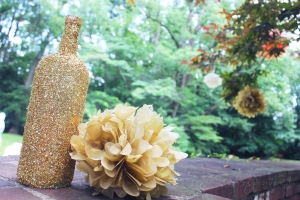
4. Decorations– This goes along with #2, because your friends aren’t going to have every single thing you need to make the day your own! So get crafty! Look on Pinterest or Etsy and recreate the items you love. Lucky for me, I wanted wine bottles as centerpieces, and I had been saving wine bottles for about 2 years and I had around 30 to use. So if you know of something you like, start saving it. For wedding invitations, look through Etsy and download a template that you can edit yourself (trust me, with a short time frame, the more you can do yourself the better). My Aunt printed off all of my invitations and RSVP’s as a gift, so the only thing I had to buy were envelopes, stamps, and labels. I checked with Staples and it was going to be around $150 to print everything I needed, so I was glad to save money where I could. For other decorations and items, I shopped online and got a TON for LESS! I found Tissue Paper Poms and paper straws from Just Artifacts (http://www.justartifacts.net). Since my venue only allowed plastic wear, I bought a case of plastic wine glasses and tissue table cloths from Webstaurant (http://www.webstaurantstore.com). I had my heart set on actual table linens, which are expensive to buy or rent. It was only a few weeks until the wedding day and I had to decide what I was going to do! So I went with tissue paper table cloths and was pretty upset about it because I thought it would make my wedding tacky and cheap looking, but guess what?! I didn’t even remember that the table cloths were “fake” the day of the wedding, and it made clean-up that much easier for my family.

232_IMG_9608214_IMG_9689233_IMG_9606

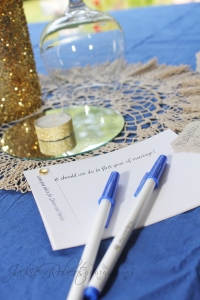
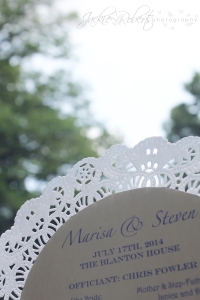
[Wine bottles and tissue paper poms, centerpiece with Questionnaire for guests, and program]

5. Photography– Most of us know a friend or family member who dabbles in photography! For me, I asked a friend from College who has a small photography business. She was able to work with me to create a package that fit my needs. Photos are what you will always be able to look back on years down the road, but don’t be blinded by the editing and crazy effects that can start costing you. Find a photographer you can trust and talk with them, have ideas, and be honest. Photography can get very expensive, so decide what is the most important… I wanted to be able to have a CD with all of my pictures (some photographers will charge hundreds with the CD as an “add-on”), and my photographer gave me a CD with over 300 pictures on it. (Steven even said that’s the first thing he would save if our apartment was burning). You can print your pictures anywhere, so getting that CD in your hand is extremely important. My photographer let me be creative with whatever poses and ideas I had in mind, one thing I wish is that my photographer would given more directed poses. Thinking of my own ideas the day-of-the-wedding was somewhat stressful, but I still got some amazing shots.

280_IMG_1712

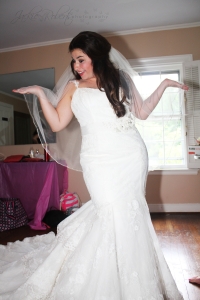
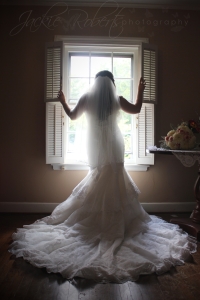
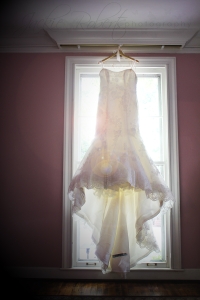
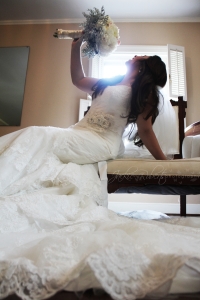
6. The Dress- DO NOT SETTLE ON YOUR DRESS. Whatever you do! This is the dress you have been dreaming of, the one you will still “sigh” at when you see it in your closet, the dress you will wear again on your one-year-anniversary, the one you will show your children and grandchildren. Don’t settle on that dress. I found mine at a small local boutique and it cost a pretty penny. My mom was nervous about the expense and I hoped I wouldn’t have buyers regret. But I didn’t– and I’m still so glad I got my dream gown and have beautiful pictures of myself in it. Alterations cost a lot, and thankfully my family sews, so I was able to save that $$ for other things.

2_IMG_9953207_IMG_9975208_IMG_9787 304_IMG_0071

So there you have it! The top 6 things to help make your wedding one full of creativity, money-saving, and love. If you have any specific questions, or want to know what I did for another portion of the wedding planning that I didn’t mention, please leave a comment and I will be glad to answer it! Don’t be scared of a quick wedding, and don’t let a small budget get you down about your dream day. Remember what the day is truly about and everything else will fall into place!

Simply,

The Hoosier Peach

Apartment Tour

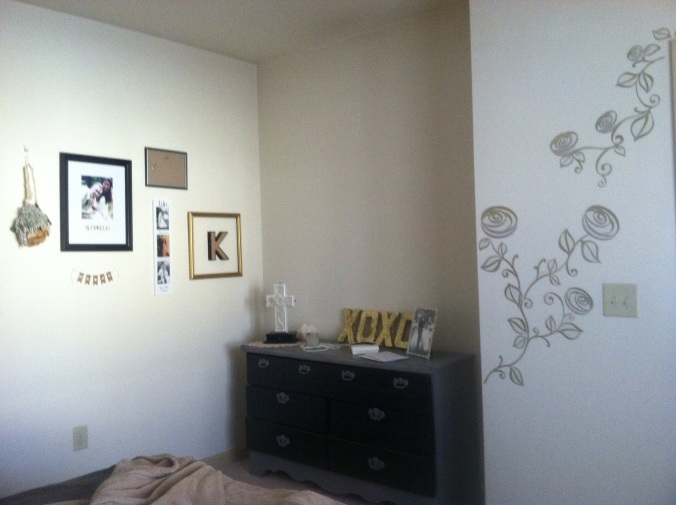
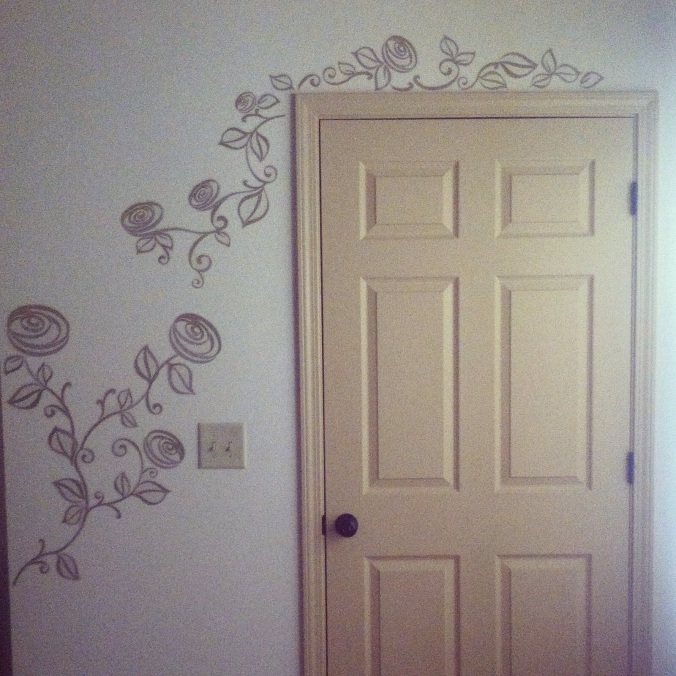
I have been wanting to do an “apartment tour” post for awhile now, I’ve just been waiting until most rooms were at least 85% complete! Slowly but surely our apartment is coming together. My inspiration for most of this is from Pinterest, with my own twist. Since you typically can’t paint apartment walls, I’ve resorted to wall decals and hanging collages of empty frames, pictures, “K” initials, etc….

I have always loved neutral color pallets, so that is the overriding “theme” throughout our home. Tans, gold, grey, black, and brown are our “go-to” colors for most rooms. However, I like to liven it up with a fun printed curtain and eventually some bright accent pillows and a rug.

Master Bedroom
IMG_0211-0.JPG

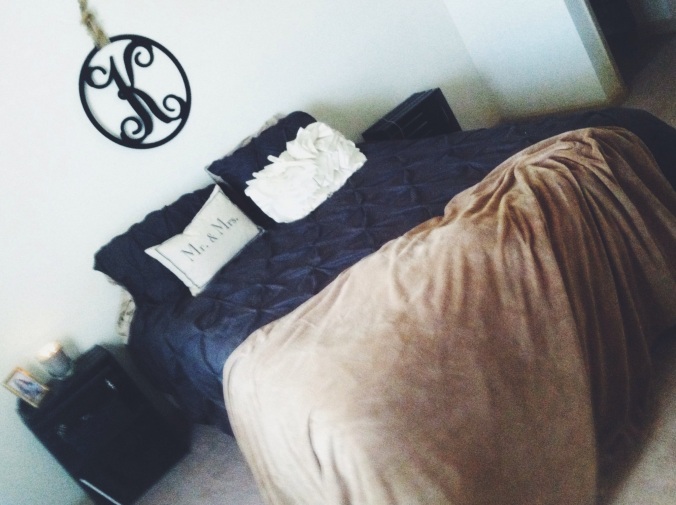
* We eventually want a King bed, so we registered for King sized bedding and have it on a Queen, I highly suggest doing that to save having to buy bigger bedding (which gets expensive)!!

*I want MORE pillows (Hubby will probably want to kill me because I’m always saying “Those are decorative pillows! Don’t squish them!”) BUT I want a King bed full of pillows with different textures and in a pallet of colors. I would love a gold sequin pillow and a small black circle pillow and a large square ivory faux fur pillow!!

IMG_9340.JPG

IMG_0209-0.JPG

*This dresser was my $30-one-day project! I love how warm it turned out and it’s the “statement” piece of the room! I eventually want a large circle mirror hung above it and some tall candle sticks. I wanted the master bedroom to have a warm, romantic, wedding feel to it. Who says the honey moon can’t last forever? 😉

IMG_0201-0.JPG

IMG_9862-0.JPG

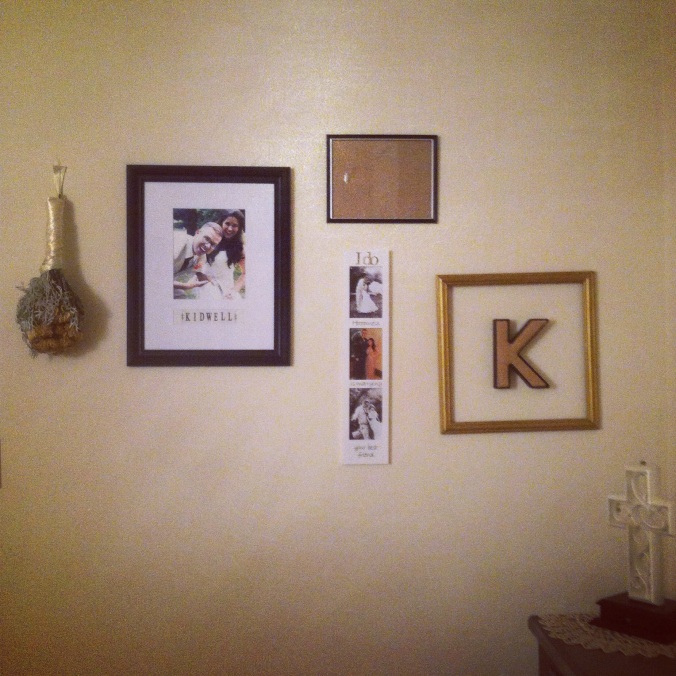
* I am OBSESSED with collage walls! It’s my no-measuring dream! I love that there’s no rhyme or reason and I can hang something up and work around it without symmetry with different objects and different sized frames!! Ahhhh….
* I clearly need to print another 8×10 for the top black frame, and I hung a little “we do” banner (from our cake topper) under the large portrait frame. Gives more “ebb and flow” in my opinion 😉

IMG_9542-1.JPG

* If you want to kill an afternoon, buy some wall decals and design away! I had so much fun deciding where to place the floral design on the wall, and it was easy to take off and move if I didn’t like where I put it the first time (which happened a lot). It added a sweet touch inside and I love waking up to something other than a white wall.

Wish List for this room:
– Decorative pillows
– King Size bed
– Dark grey (almost black) shag rug
– Cushioned blanket box for under the window
– Large circle mirror above dresser

Living Room

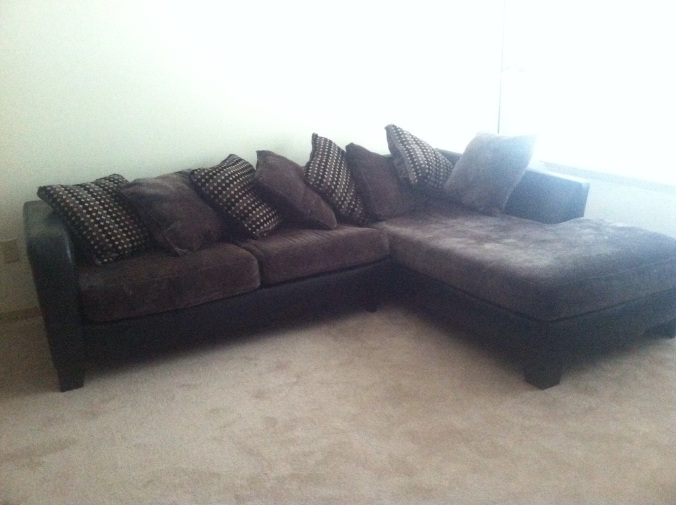
The living room has a ways to go, but it’s feeling warmer and cozier every month! Besides the fact that we didn’t even have a couch for a while, I can’t complain! For the living room, I would like a modern twist while maintaining the neutral color pallet. I was wanting a POP of yellow, but Hubby isn’t crazy about it, so I might settle with a rusty red/orange.

IMG_9177.JPG

* Above the couch I would like a modern/painted-looking version of the NYC skyline, surrounding it I would like floating shelves with various pictures with family and friends. When we choose the pop of color, I’m going to paint the end table I have in a shade or two darker for more modern look. I’m DYING to make a pallet coffee table, so that’s in the works. A patterned rug with our grey/brown/black/red theme would be cool! I would like to get some patterned curtains with those colors too, so complementing patterns would make the room really sparkle!!

IMG_0210.JPG

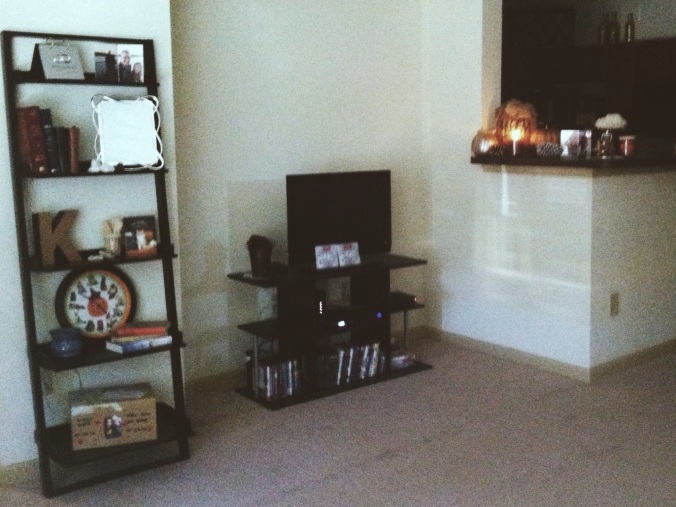
* I love our ladder book-shelf! We got it for $40 from WalMart but it was slightly broken when we opened it up. I used some Gorilla glue to fix it because it was the only shelf in the store and I wanted to put it together that night (I’m not the most patient person, obviously…) haha!
* When we moved in we didn’t have ANY furniture besides our dining room table and our bed, so we got this little TV stand for cheap off of someone. My DREAM for the TV area is a large cabinet with glass doors. We would love a larger TV at some point, so some more floating shelves around it (symmetrical this time) would please my eyes immensely.

Wish list for this room:
– Patterned curtains
– Floating shelves
– NYC framed painting (black and white)
– Patterned area rug
– DIY pallet coffee table
– Large TV stand cabinet

Bar/Dining Room/Kitchen

IMG_0208.JPG
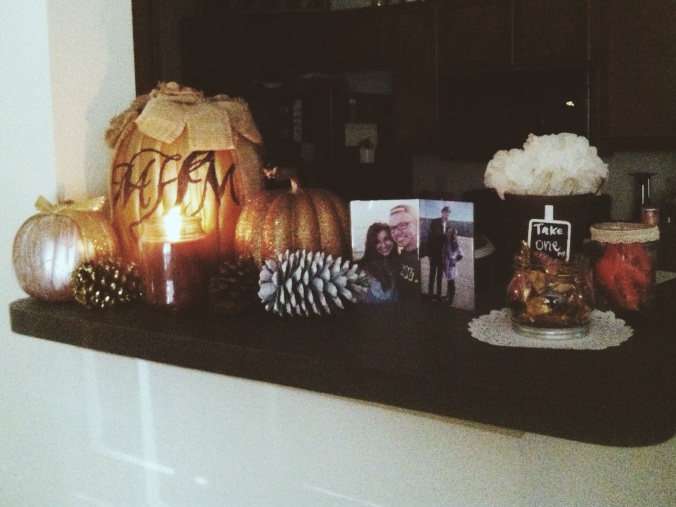
* Who doesn’t love a little fall decor? Pumpkins, pine cones, pictures, candles and candy (say that 10 times fast)….. All of it make me smile! My goal is that when a guest walks in the door, they feel like it’s also their living room, and who doesn’t love a little treat now and then??!

IMG_9032.JPG
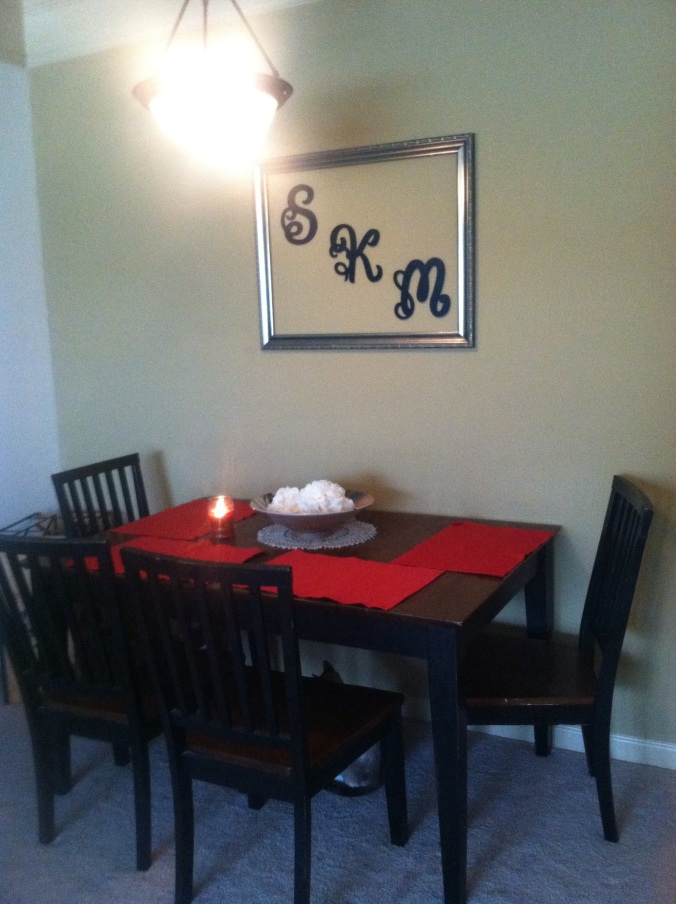
* I bought this table off Facebook for $50! It had a pop-out leaf and is so sturdy!
* I love empty frames with letters/initals, can you tell?

IMG_8975.JPG
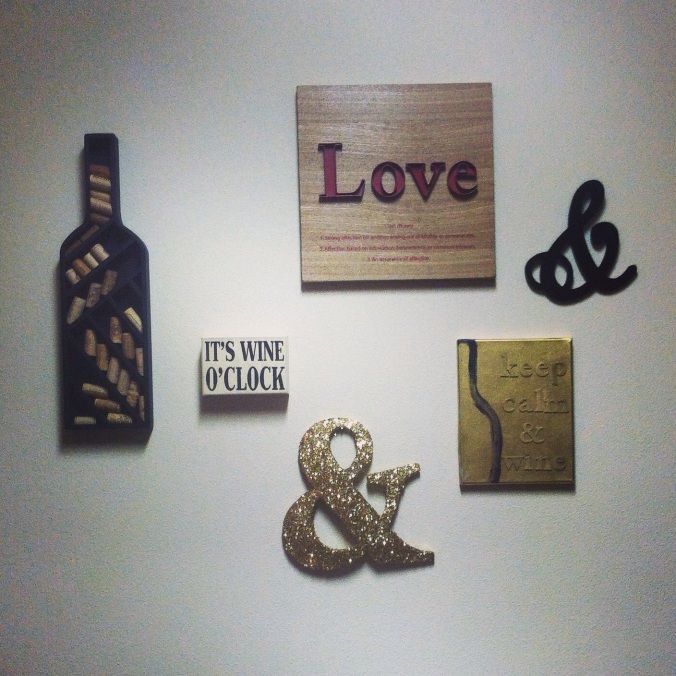
*Another infamous wall collage! Our kitchen inspiration is “wine”. Kitchen colors are gold and black with a pop of bright red!
* I used gold glitter wine bottles and tissue paper puffs from our wedding on top of the cabinets, and a wine rack that was a wedding gift! I’m kind of obsessed.

Etc…

Spare Bath- The end of the hallway (on the left) is another full bathroom with a “beach” theme! I forgot 90% of the items for the bathroom at home, so I will have to share pics of it once I get the items from Indiana!

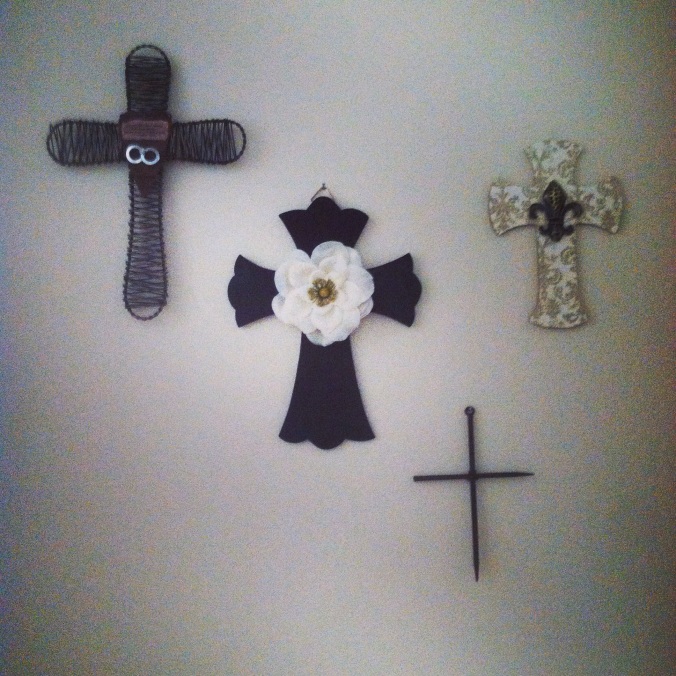
Hallway- My favorite wall….CROSS COLLAGE! (Are you surprised?) I would LOVE if friends and family found crosses for me to add to the wall so every time I see the wall I will notice their cross and think of them and send some prayers their way. That’s my DREAM for the wall! The top left one was a wedding gift, I made the middle and top right crosses, and I bought the bottom right cross from Hobby Lobby- they have an ENTIRE aisle of cross decor! 😉

IMG_9711.JPG

Spare Room/Office
* We have a twin day bed in there currently, so come visit us!! 😉

* Hubby has his desk set-up for a future computer and where he plays his video games!

*My desk is set-up, but not complete quiet yet!

So, what did you think of our apartment tour? Any ideas or suggestions? I would love input or comments! Leave some love!

Simply,
The Hoosier Peach

Annoying-ball-y-Things

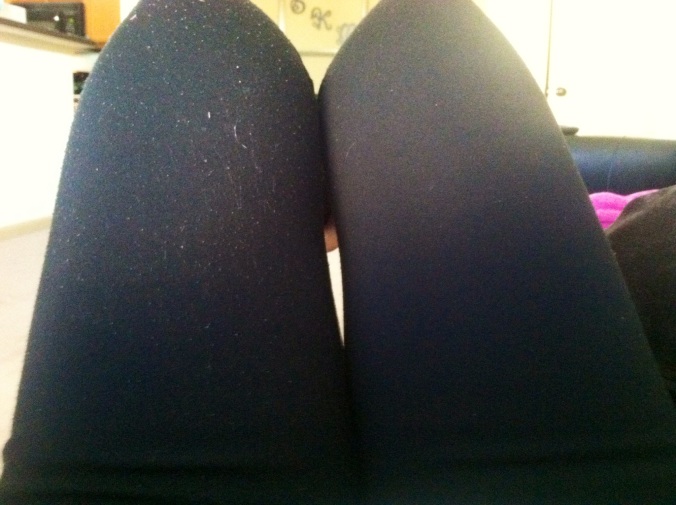
So this time last year I searched for the best pair of thick, pant-like, black leggings (the non-see-thru kind, of course). I searched every where and ended up finding the perfect pair at Old Navy for about $25! I wore them with everything (like any decent legging wearer would do) and after only a few times of wearing them, I noticed lint and those “annoying-ball-y-things”! Gah! Sound the alarm! Buy every lint roller! Hide in shame! Those darned lint balls on my leggings wouldn’t go away no matter what!

Until today.

I pulled my leggings out to wear them for the first time since last winter and immediately wanted to put them back in the drawer. Then I remembered that my husband SHAVED his Army beret for inspections so it would be LINT-FREE! Hmmmm that’s an interesting concept………

I put my leggings on.
I grabbed my razor from the shower.
I got the razor wet.
I shaved my legging legs.
BAM.
No more “annoying-ball-y-things”.

You can thank me later. 😉

Simply,
The Hoosier Peach

IMG_0165-0.JPG

Why Blog?

So, this is my first blog post…. why should I blog? What do I have to say? To be honest, not a lot, but I’ve had this grand idea on my heart for awhile now and I decided tonight, with a glass of wine, would be the best time to start. But what should I blog about? After some random compliments from friends, some have encouraged fashion posts or home decorating posts, but what do I know about that? I come from a suburban Indiana town and I currently live in the Middle-of-Nowhere, Georgia (you think I’m kidding), I don’t dress adorably every day, my dining room table collects junk, and I don’t have marriage or God completely figured out (I mean, I’d like to meet someone who does), but I feel the call to write, to share, to encourage, to inspire, to make you laugh, make you think, to make you create, and if I can do even one of those things for you, that will be enough for me. So thank you to those who have encouraged me to share my thoughts through a blog, this first post is dedicated to you.

Of course this first blog post wouldn’t be complete without spilling my glass of wine all over myself and my cat Splat, which leads me to wonder…. if she licks all the wine off herself, will she get drunk? I guess that gives way to a new blog post tomorrow.


Simply,

The Hoosier Peach

IMG_8476.JPG