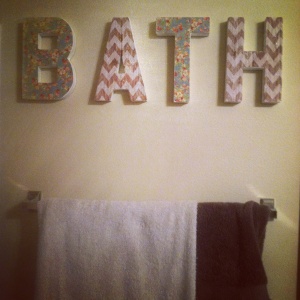
Calling all beginner crafters! Maybe you’ve said the phrases, “I wish I could craft”, “I’m not good at crafting” or “Teach me your crating ways!!” This post is for you.
Supplies you’ll need:
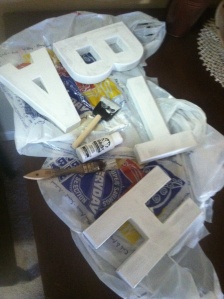
– Paper-mâché letters in the word of your choice. I like short words like, “EAT”, “XOXO”, “HELLO”, “LOVE”, and my example, “BATH”. I got my 6″ block letters from Hobby Lobby when they are 50% off. Each letter ends up being $1.50!!
– Scrapbook paper in coordinating patters (1 page per letter). For a vintage look, I chose a floral print and a shabby chic wood chevron pattern.
– Paint in a neutral color that coordinates with the scrapbook paper
– Pencil
– Scissors
– Elmer’s Glue for a matte finish OR Mod Podge for a shiny finish (I used Elmer’s glue).
– Sponge paintbrushes
Let’s get started!!!
1. First, you’ll need to decide which paper you want to use for each letter. Then, place the letters on TOP of the paper and trace around them with a pencil. (I painted my letters first and got a bit of paint on the paper, so tracing first is a good idea!)
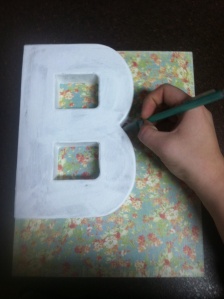
2. Paint your letters (I didn’t paint the backs to save dry-time and paint. However, if your letters will be set out in the open you will want to paint the backs)!!
3. While you’re waiting for your letters to dry, cut-out the letters from your scrapbook paper.
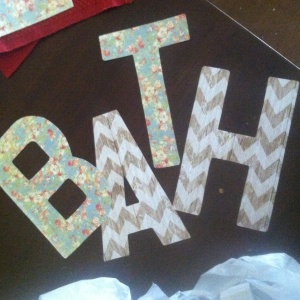
4. Depending on how long that took, about 20-30 minutes is good for drying time.
5. Spread a thin layer of Elmer’s glue or ModPodge on the front surface of the letter and apply your scrapbook paper on top. Do this for ALL letters before the next step!
6. Once you have applied the scrapbook paper, add a generous amount of Elmer’s glue or ModPodge on TOP of the paper.
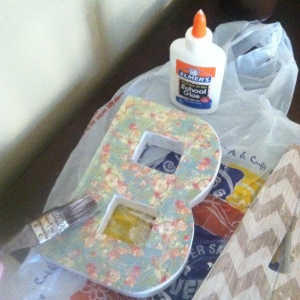
7. Make sure all edges of the paper are covered with the glue and that there aren’t any glue drips on any sides!!
8. Your letters will be fairly thick with glue, so allow around 1 hour to dry.
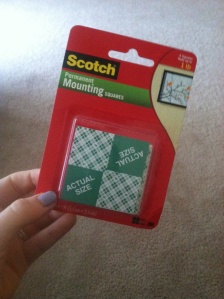
9. If you’re hanging your letters, I used Scotch Permanent Mounting Squares 1in x 1in, around 2-3 for each letter.
10. If you’re hanging your letters on a wall- the EASIEST way to get them completely level is to hang up the first and last letter (eye ball it and just gently adhere them on the wall in case you need to move them) place a yard stick on top of the letters and move the letters until the yardstick is level!! Then, place the middle letters under the yardstick evenly spaced out so the yardstick remains level.
11. YOU’RE done!! How was it?? Leave a comment and let me know how hard you rate this craft on a scale from SO EASY being 1 and STILL TOO HARD being 10!! I want to see your finished products so share them with me!!
