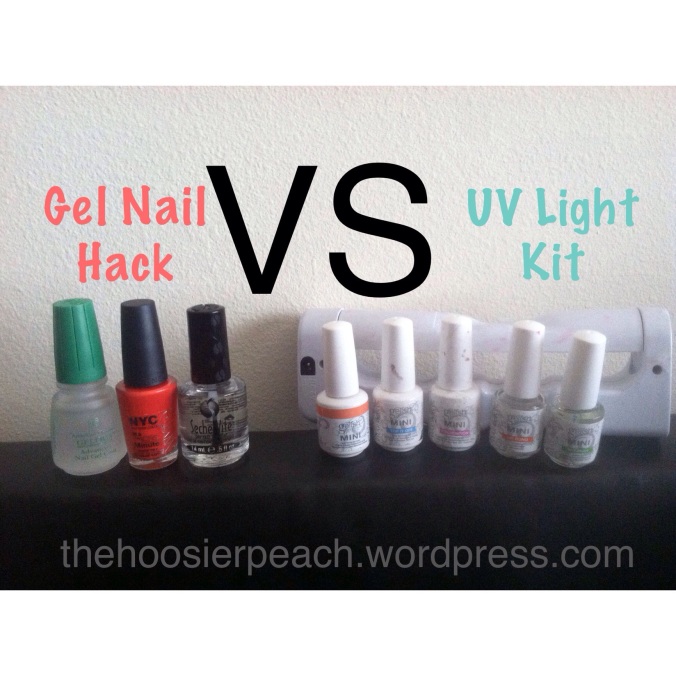
So, I recently tried a “Gel Nail Hack” tutorial that I found on Pinterest. I was curious to see if it would work, what it was like, and if it would be better than the UV light gel nail kit I already have. Here is my own version of the Pinterest tutorial, plus the pros and cons versus a regular UV gel nail kit.

Supplies:
– Gelous Advanced Nail Gel Coat (found at Sally’s Beauty Supplies)
– ANY regular nail polish of your choice (pictured is NYC in Spring Street #221)
– Seche Vite Dry Fast Top Coat (also found at Sally’s Beauty Supplies)
Let’s get started!
1. Start with freshly cut and filed nails, make sure they are clean and dry.
2. Begin with one coat of the Gelous Gel Coat polish, let dry.
3. Apply one coat of the nail polish color of your choice, let dry fully.
4. Apply a second coat of the Gelous Gel Coat polish, let dry completely.
5. Apply a second coat of your nail polish color and let it dry.
6. Apply one coat of Seche Vite Fast Dry Top Coat, let it dry fully.
7. You will apply one FINAL coat of the Gelous Gel Coat polish, and let your nails dry…. which is the hardest part in my opinion!
8. YOU’RE DONE!
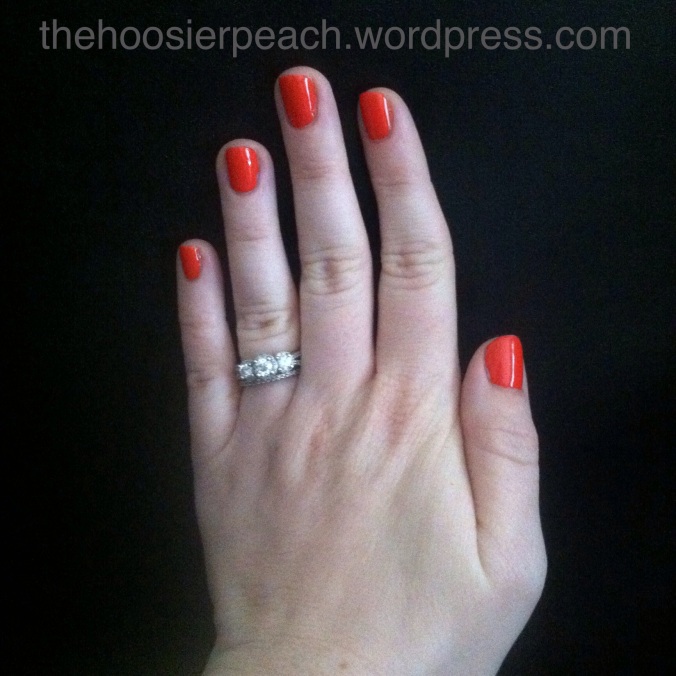
After wearing the polish for a week, here are my pros and cons:
 Pros:
Pros:
– Affordable: This Gel Nail Hack is fairly inexpensive compared to the UV lights and special gel nail polishes you need to buy to go with the light. The Gelous, NYC, and Seche Vite polishes cost me a total of $14, whereas a Gel Nail kit alone can cost over $100. Not to mention every time you want a new UV nail polish color it’s around $12 for a little bottle!!
– Quality: It feels like a real gel manicure! It has the thickness that the UV gel kit gives you, and once my nails were totally dry I felt like they were indestructible!
– Options: You can use ANY nail polish you want!!!! That’s what I love most!! I can buy whatever color nail polish my mood is for that day and turn it into a gel manicure. Typical gel nail polishes can get expensive and this is a perfect solution.
– Convenience: When I was religiously using my UV Gel Nail kit, I had to take 4 different polishes with me (not including the color polishes), plus my sometimes bulky UV light, batteries for travel, or the outlet cord, plus nail polish remover to remove the sticky residue, from the final layer in the UV light nail polish series, and lastly some cotton balls in order to use the nail polish remover! Such. A. Hassle. My sisters and I were carrying around plastic totes full of nail polish stuff wherever we went just to have a perfect gel manicure! With the Gel Nail Hack you have 3 polishes MAX and that’s it. Whew, so glad I don’t have to try fitting all my UV stuff in a suitcase again, more room for shoes!
Cons:
– Dry-time: UGH we all hate nail dry-time, especially with six nail polish layers! It was hard trying to decide if my nails were fully dry before moving on to the next coat, but overall I ended up smudge-proof!
– Chipping: I did notice a chip in the polish right at one week of wear. I wasn’t too surprised because I tend to pick at my nails and I think in the end, I caused the chip, but my other nails were still perfect right at a week! I got bored with the color and changed it, so I’m curious to see if it will last longer than a week this time!!
– Layers: With 3 layers of the Gelous Nail Coat for every manicure, I know the bottle of nail polish won’t last forever! I’ve only done 2 manicures and my bottle has an obvious amount missing from it. It’s not close to being gone, but it won’t last as long as my small bottle of UV gel nail “foundation” did.
Overall, I HIGHLY suggest trying this Gel Nail Hack. If you love gel nails or just don’t want to spend a bunch of money on the UV kits, this is a great alternative!
As always, share your Pros and Cons, or your current favorite nail polish colors!!
Simply,
The Hoosier Peach
